Using Geolocation Center
On the Geolocation Center tab, an administrator could track selected users'Accounts, Activities, and geolocation.
Activities
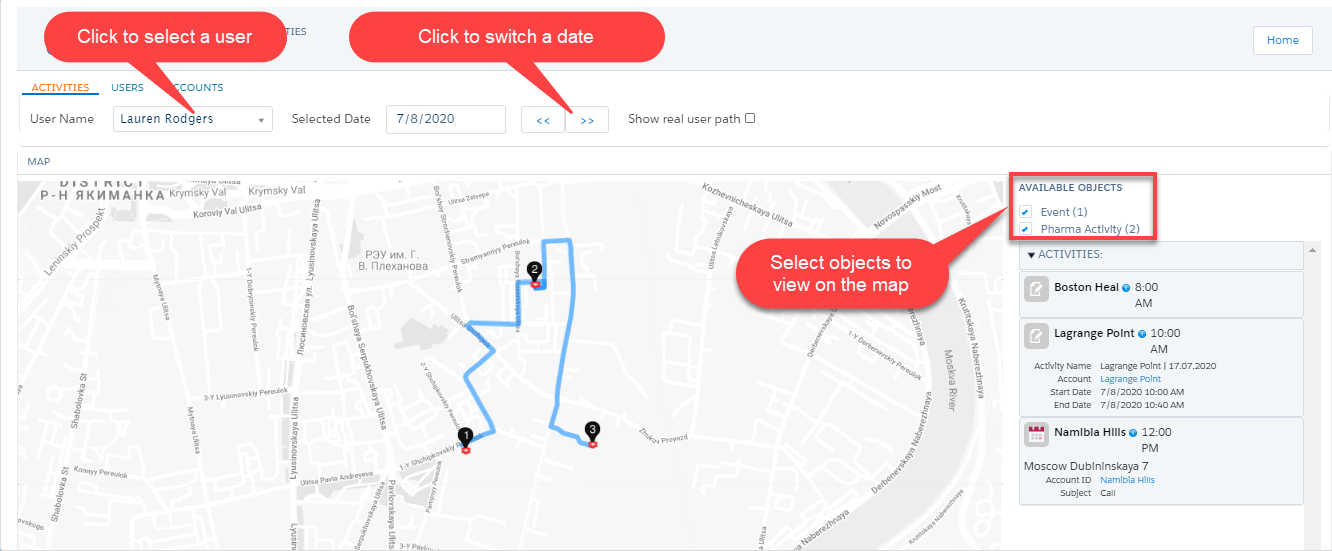
This tab is intended to view the selected user’s activity marks and path on the map.
-
Select the Show real user path flag to view the user route to play the user’s track with the activities on the selected date.
If the Show real user path flag is not selected, the activities will be connected in chronological order depending on the Activity Start Date API name / Start Date field of each activity. 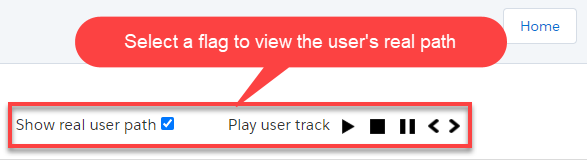
-
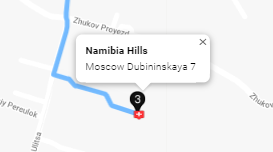
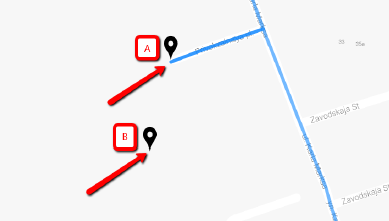
Click the activity mark to view the address of the Account.
-
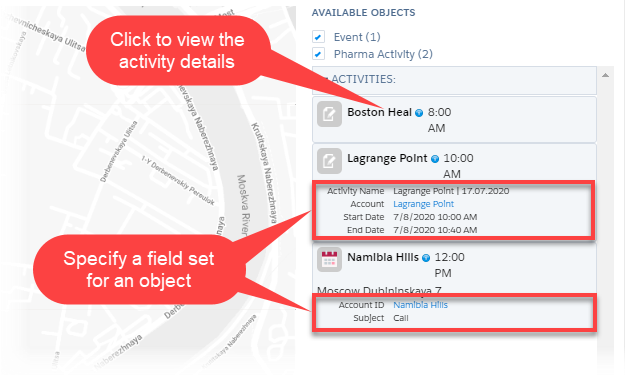
Click the Activity record in the right column to view its details. To specify the required fields:
-
Go to Setup → Object Manager → select the Activity object.
-
Click Field Sets.
-
Click New.
-
Create the field set:
-
In the Field Set Label and Field Set Name fields, enter GeolocationCenter.
-
Enter the description.
-
-
Click Save.
-
Drag and drop the fields in the Field Set section.
-
Click Save.
-
The field set is created.
-
Click the
 icon next to the activity record in the right column. The map will be centered on the selected geolocation.
The additional activity mark can be displayed due to the route correction by the system.
Users
This tab is intended to view the selected user’s geolocation in real time.
-
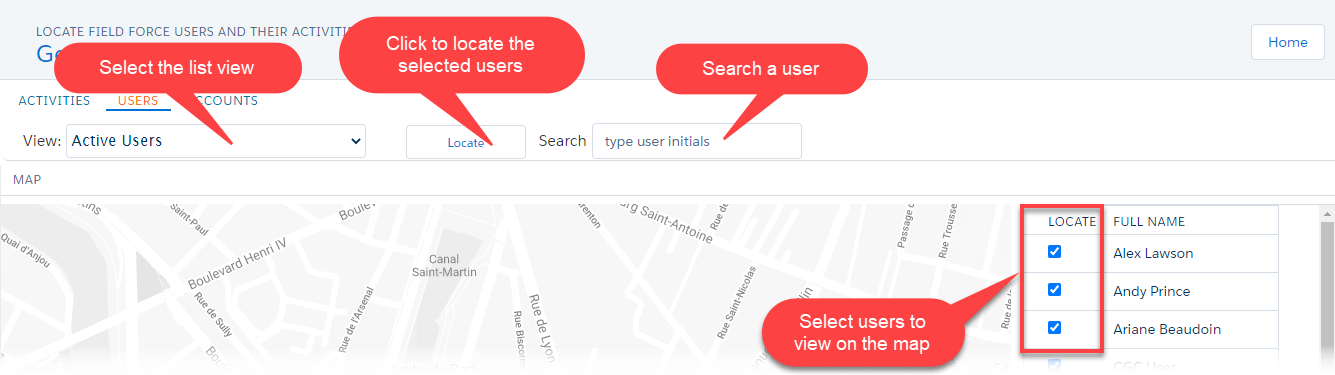
Select the list view to display available users in the right column.
-
The list views for the User object are supported:
-
Only users with the filled Device Token field will be available in list views.
-
The field is automatically filled out when the user first logs in to the CT Mobile app and performs the full synchronization.
-
If you authorize with the same credentials on several devices (but no more than 5), the field will contain the token of the last device on which you synchronized.
-
-
In the right column, click Locate to select or deselect all available users;
-
Click the Locate button to view the location of all selected users on the map;
-
To find a user, type the username in the Search box.
-
-
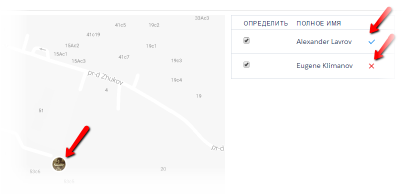
If the location cannot be tracked, the
 icon will be displayed next to the user.
Check the settings for Geolocation Center. The mobile device should be connected to the Internet.
-
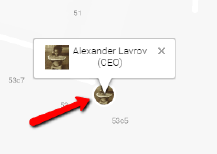
Click the user mark on the map to view the user’s name and role.
Click the username in the right column. The map will be centered on the selected geolocation, and the user’s name and the role will be displayed over the mark.
Accounts
This tab is intended to view the account’s geolocation.

-
Select the list view to display a table with available accounts.
-
The list views for the Account object are supported;
-
To find an account, type the account name in the Search box.
-
-
If the location cannot be tracked, the
icon will be displayed.-
If the Account Geolocation field is not specified or the selected field is blank, but the Account Full Address field is specified, the account mark will be displayed on the map.
-
If both fields are not specified, the warning will be displayed.
-
