Reassigning Access Rights After Changing Custom Tab
Applicable in cases of updating to CT CPG 1.19 or higher from any lower version.
The custom tabs for package objects were introduced in CT CPG 1.19 and require to reassign existing access rights to them.
Due to the CT CPG 1.19 update, there might be issues caused by custom tabs that were manually created by administrators in previous CT CPG package versions.
To reassign access rights:
-
Copy the code below and save it as the .xml file.
-
Change the CTCPG_ReportTemplate__c and CTCPG_ChangeRequest__c values in the code below with the object API names, for which the custom tabs were manually created by administrators.
-
Change 46.0 value in the code below with the required API version.
<?xml version="1.0" encoding="UTF-8"?>

<Package xmlns="http://soap.sforce.com/2006/04/metadata">

    <types>

        <members>CTCPG\__ReportTemplate__c</members>

        <members>CTCPG\__ChangeRequest__c</members>

        <name>CustomTab</name>

    </types>
    <types>

        <members>*</members>

        <name>PermissionSet</name>

    </types>
    <types>

        <members>*</members>

        <name>Profile</name>

    </types>
    <types>

        <members>*</members>

        <name>CustomApplication</name>

    </types>

    <version>46.0</version>

</Package>
-
-
Go to the workbench and log in with credentials of the required Salesforce organization.
-
Go to Migration → Retrieve
-
Specify the path to your locally stored .xml file from step 1.
-
Click Next → click Retrieve.
-
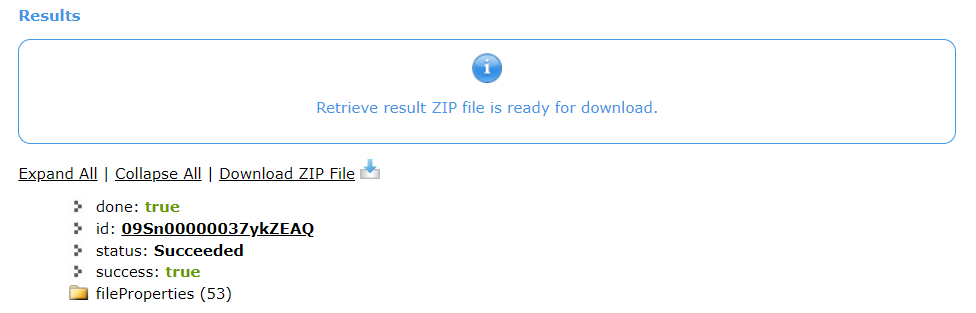
When metadata is ready, click Download ZIP File in the Results section and save the ZIP file.
-
Open the .xml file from the downloaded archive and delete the custom tabs from this Salesforce organization.
-
Go to the workbench to deploy new custom tabs from a new version.
-
Go to Migration → Retrieve → add the .xml file from step 1 → click Next → click Deploy.
When deployment is complete, the previously existed access rights will be assigned to the newly deployed custom tabs.