6. Sign a Document: Salesforce Side
|
This article is applicable only if you use template with the DocuSign sign method. Simple sign method supports only signing in the CT Mobile app. |
To sign a document:
-
Open a record of the Object to Sign. For example, if you added Account as an object to sing, open the Accounts tab.
-
Click the picklist on the right and select Form Document. The page with the signing details opens.
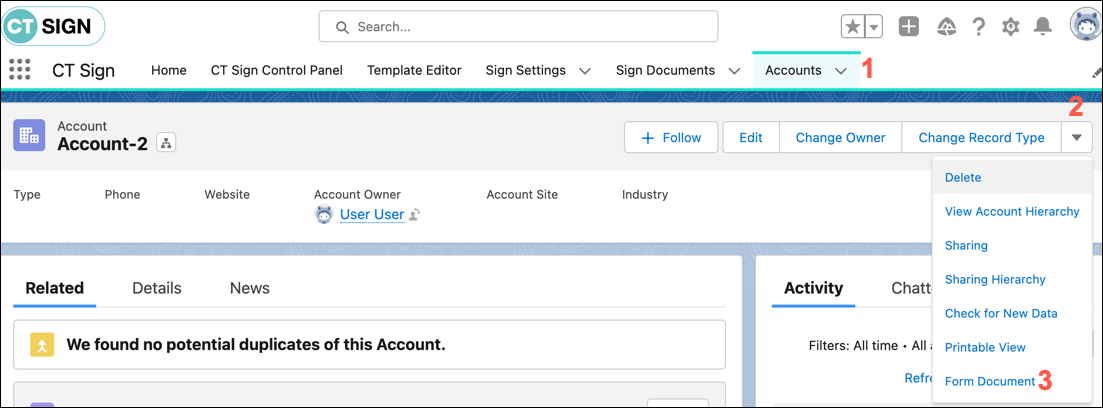
If you use a custom object, manually create and add this button to the page layout.
-
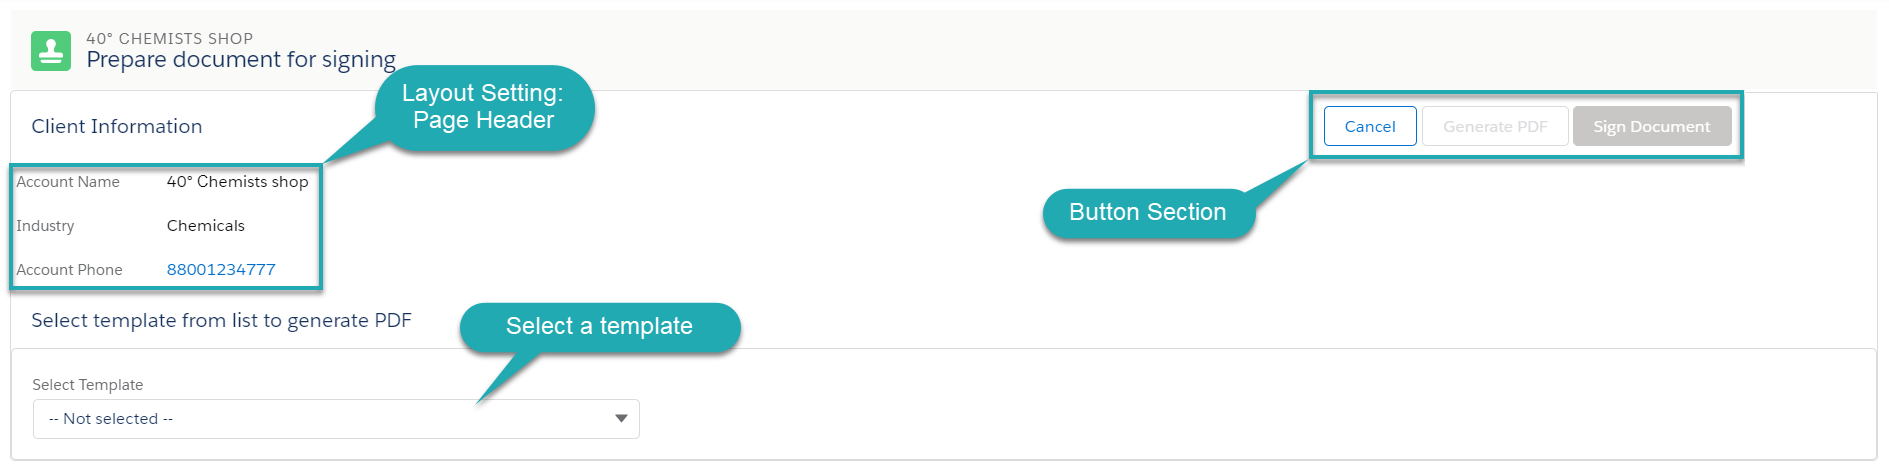
Select one of the available templates from the picklist.
If you do not see templates in the picklist, the cause may be that this Account object has been created before creating Record types. Use the Change Record Type button on the Account object page or create a new Account object.
-
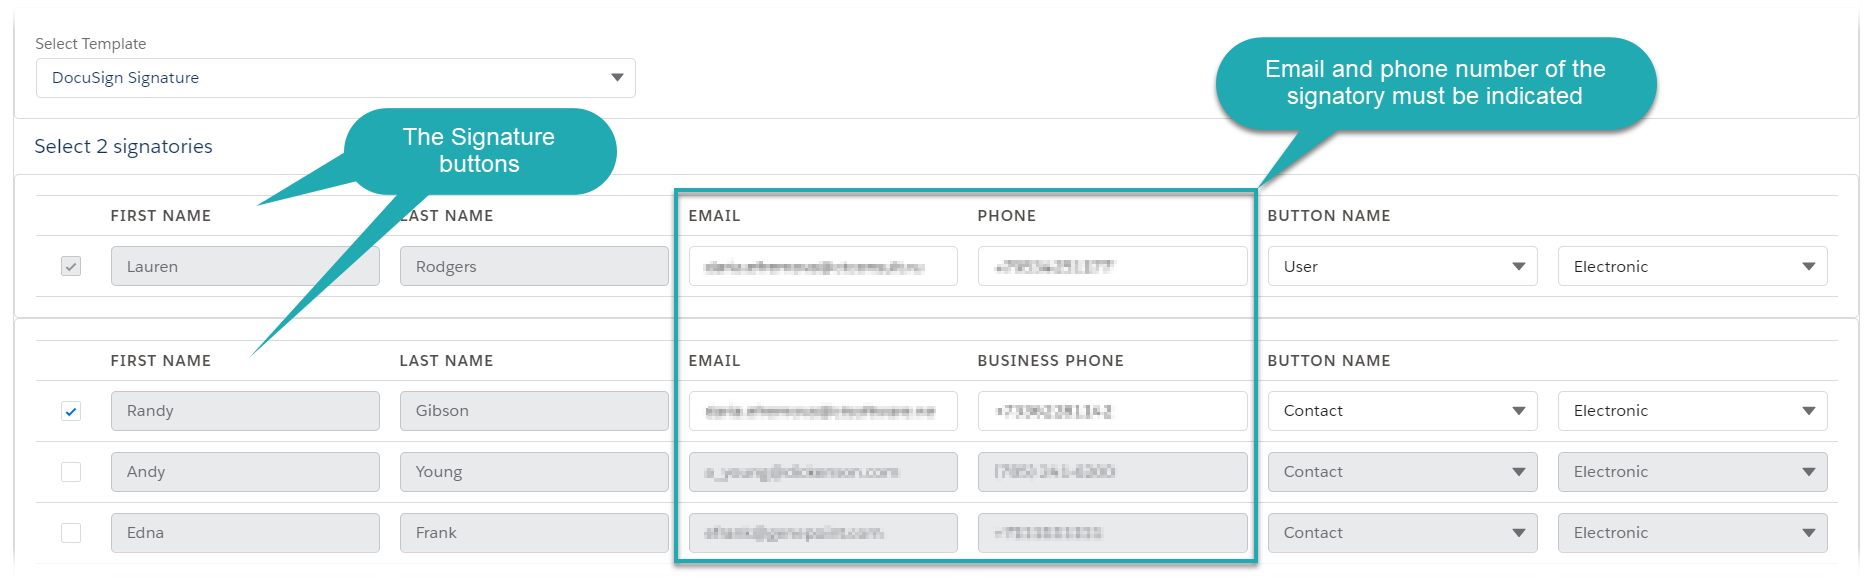
According to the template, select one or more signatories to sign a document. If empty, add their e-mail and phone number.
-
Click Generate PDF. The notification appears, and the PDF document based on the selected HTML template is displayed under signatories.
If signatories are not displayed and the Generate PDF button is inactive, make sure that Layout settings are properly configured.
-
Click Sign Document to send the PDF document for signing via DocuSign.
-
According to the specified signatory place, a signatory receives an email from DocuSign to review and sign a document. Follow the link.
The user who is selected as an associated user will receive emails at each step of the signing process.
-
According to the specified authorization type, a signatory may need to confirm his action by SMS or phone.
-
Click Continue.
-
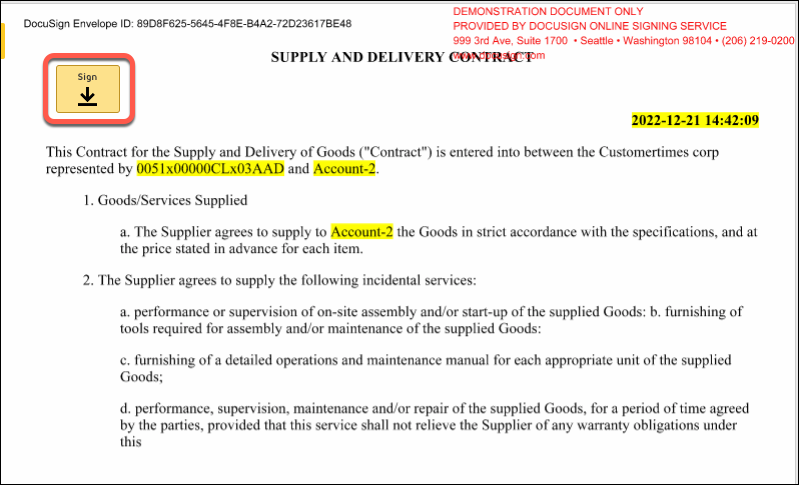
Review the document and click Sign.
-
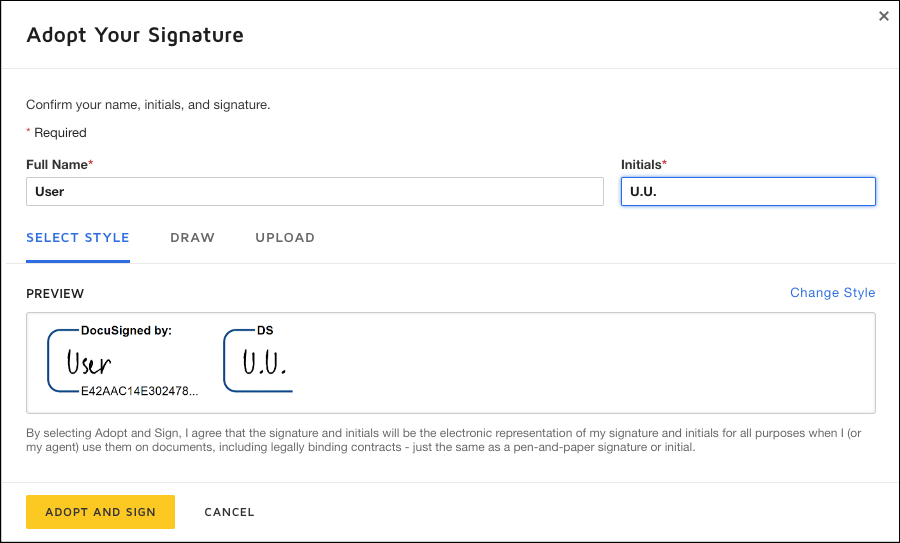
Adopt your signature and click Adopt and Sign.
The document is signed.
-
Signatories receive the completed document by email.
-
The document is stored within the linked production DocuSign account.
-
In Salesforce, the Sign Document record with the signed PDF document is linked to the record that started the signing process.