Working with CT Vision IR in Salesforce
|
The clickable realogram is available only in the CT Mobile app. |
A manager or supervisor reviews the taken photos by the mobile user in Salesforce. Go to the CT Vision app and open the Photo Gallery tab.
Uploading and Viewing Photos on a Vision Object
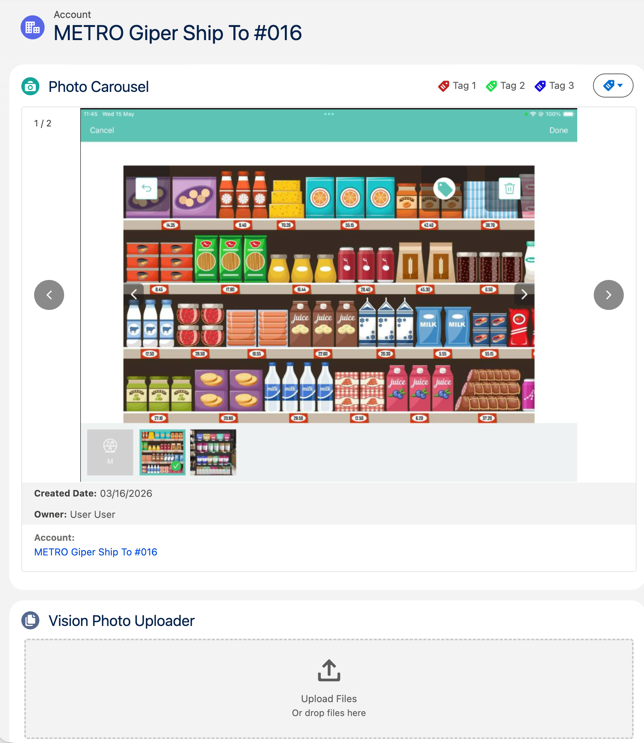
You can upload photos to Salesforce for desired Vision Object. To be able to do that, add the Vision Photo Uploader component to the object’s Lightning page layout. By the same way, you can add the Photo Carousel component to view photos taken for this object record.
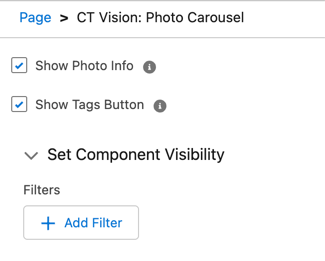
When adding the Photo Carousel component, you can also enable the Show Photo Info or Show Tags Button options:
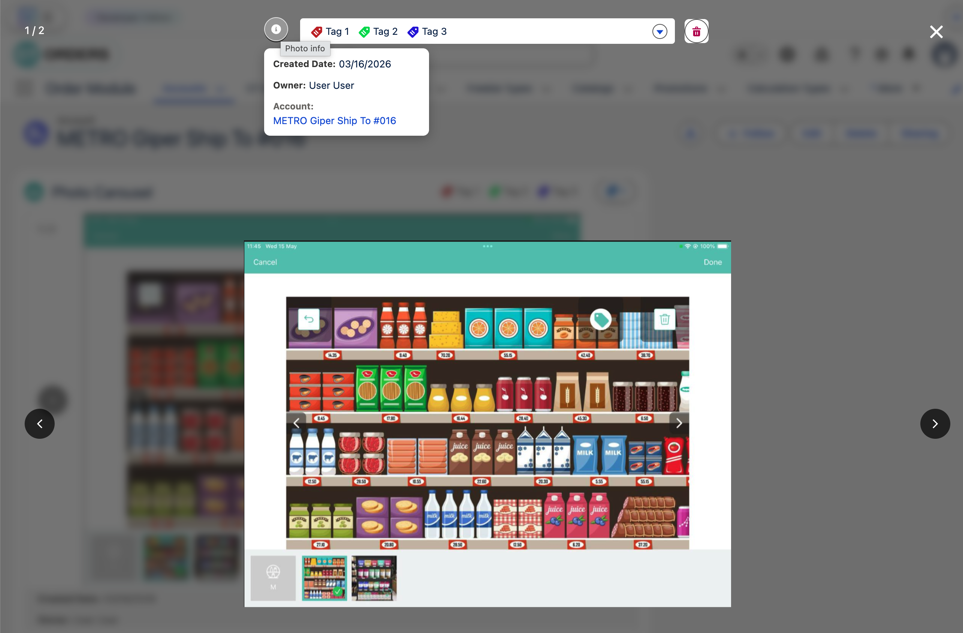
While previewing photos on a Vision Object, you can assign photo tags. To do more actions, click on the photo:
-
Click
 and
and  buttons to list other photos of the carousel.
 -
Click the
 button and select the desired photo tag.
 -
Click the
 icon to view the information about the photo, configured in the Interface Fields of the Vision Object.
 -
Click the
 icon to delete the image.
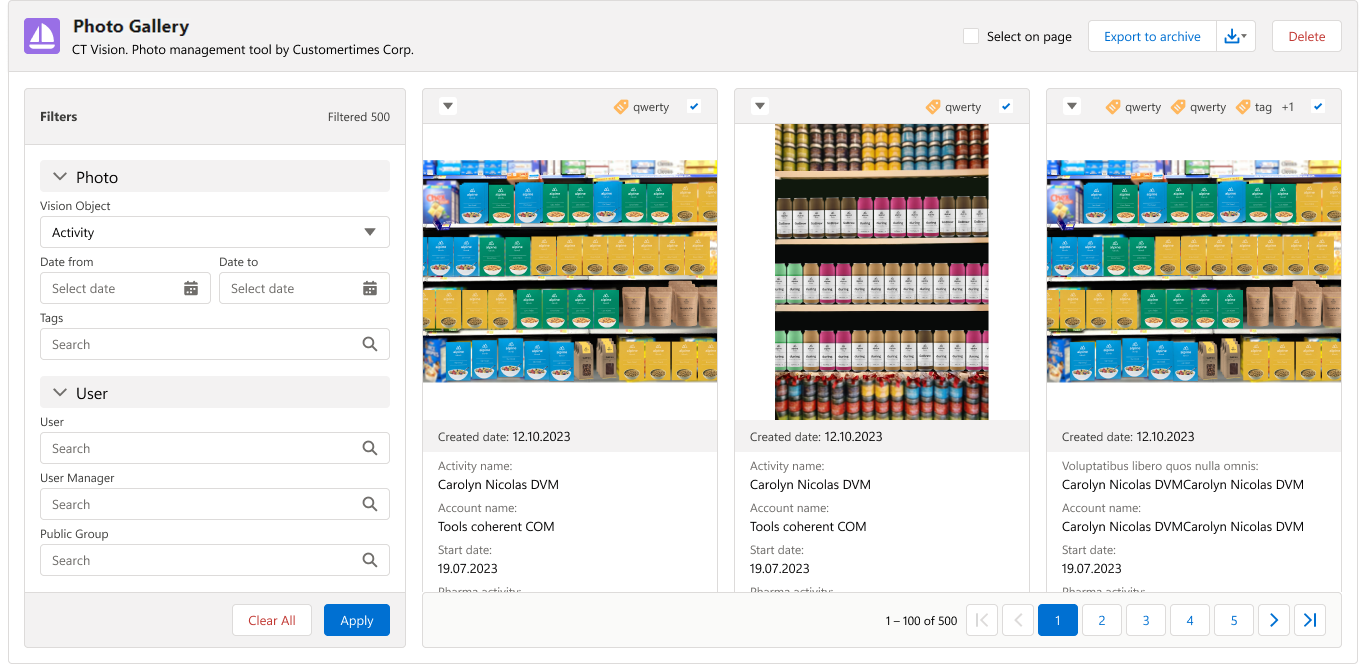
Photo Gallery Overview
The taken photos received from the CT Vision server will be displayed on the main screen, and the filters to apply on the right side of the page.
-
One page displays 50 photos. Use page navigation buttons in case of several pages and view the number of the received photos.
Maximum 50,000 photos can be loaded at a time.
-
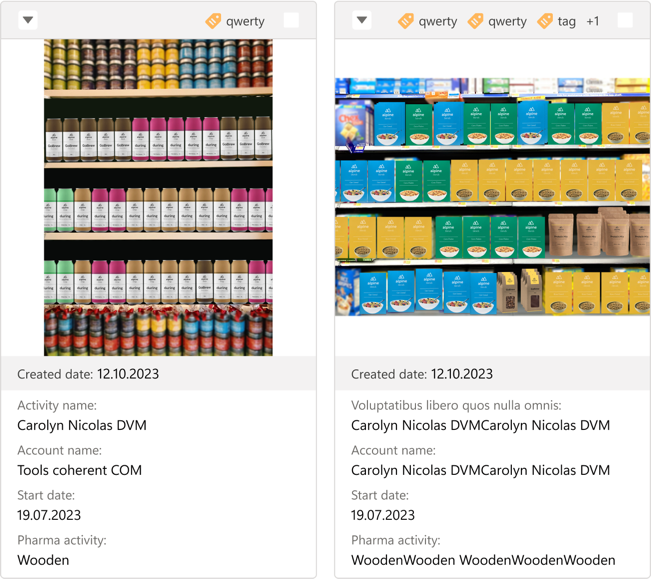
Under the photo, the information specified on the Interface Fields of the Vision Object is displayed, as well as Created Date and Owner values from the Vision Photo object.
-
Click the checkbox above the desired photos (or click Select on page checkbox to select all images on the current page) and then click the Export to archive button to build an archive with the desired photos.
-
The archive will be saved on the user’s device.
-
Photos are saved in the .png format.
-
Maximum 500 photos can be added to archive.
-
Once the archive is created, click ![]() to download it. You can create multiple archives and download them later.
to download it. You can create multiple archives and download them later.
-
Click the checkbox above the desired photos and then click the Delete button to delete the photo. You can also delete a photo by clicking the
 icon in the photo gallery.
 -
Click the desired photo to view it. In the opened viewer, click
and buttons to list other photos of the gallery. -
Click the
 button and select the desired photo tag.
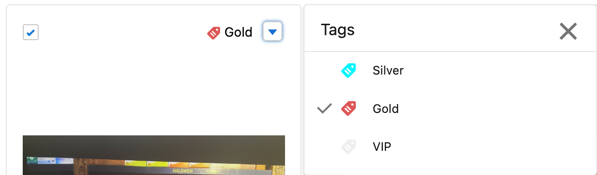
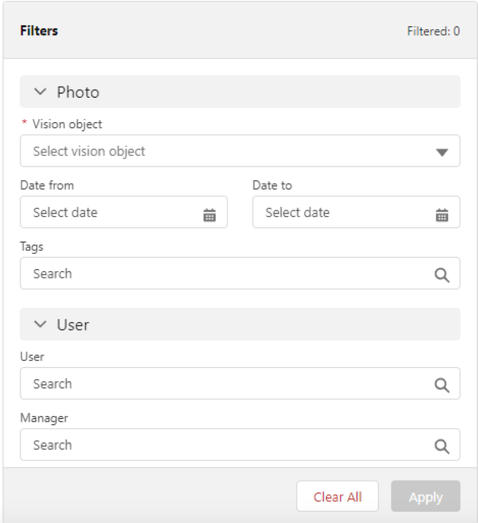
Photo Gallery Filters
Use filters on the right side of the Photo Gallery page to search the taken photos based on criteria. To apply a filter, specify the required criteria and click the Apply button. To reset the filter and erase all criteria, click the Clear All button.
Base Filters Use base filters in the Photo section:
Custom Filters If the Filter Fields are specified in the Vision object, you can use them to search the taken photos. Click the corresponding filter group to expand additional filter criteria. Click Apply to save filters. |
|
Working with Taken Photos
Photos that met the filter criteria are displayed with the description. To customize the description, refer to Vision Photo object. The following buttons are available under a photo:
|
|